Article Directory
- ShipVista Help
- Integrations
- Workflows
- Guides & FAQs
Order Tags
In this Article
About
Order Tags are a way of labeling orders so you can easily identify, sort, and categorize them. There is no limit to the number of order tags that can be created or applied to an order.
Examples of some order tags you might use are:
- Medium Priority
- Important
- Insurance Required
Content
To create an order tag:
Select an order in the orders table.
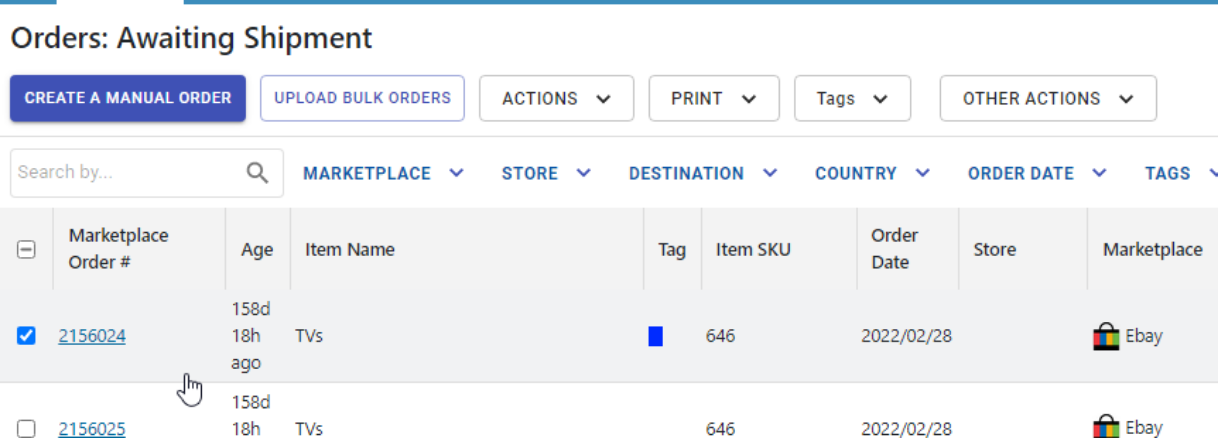
Click the 'Tags' button to open a popover containing a list of existing order tags. If there are no existing ones, this list will be empty.
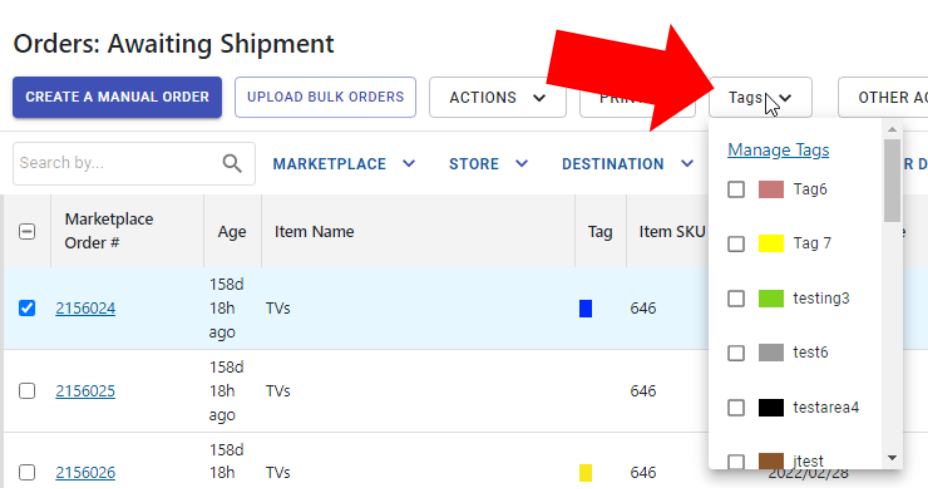
Select the 'Manage Tags' button at the top of the popover.
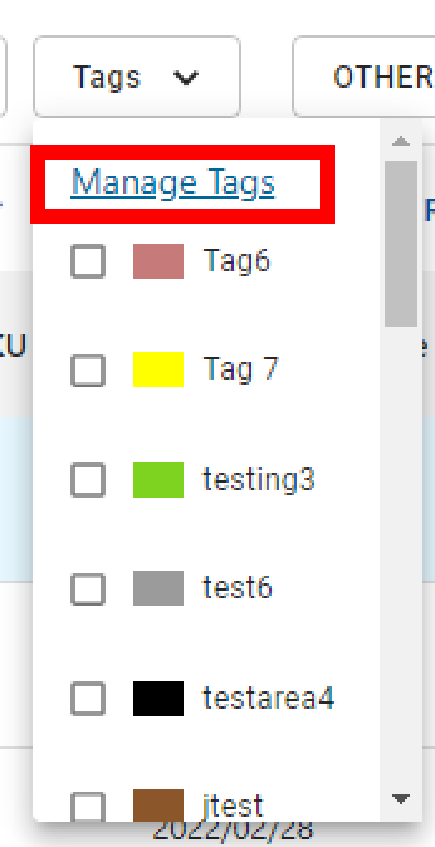
A dialog will open allowing you to manage (create, edit, or delete) tags. You may see a list of existing tags in this dialog.
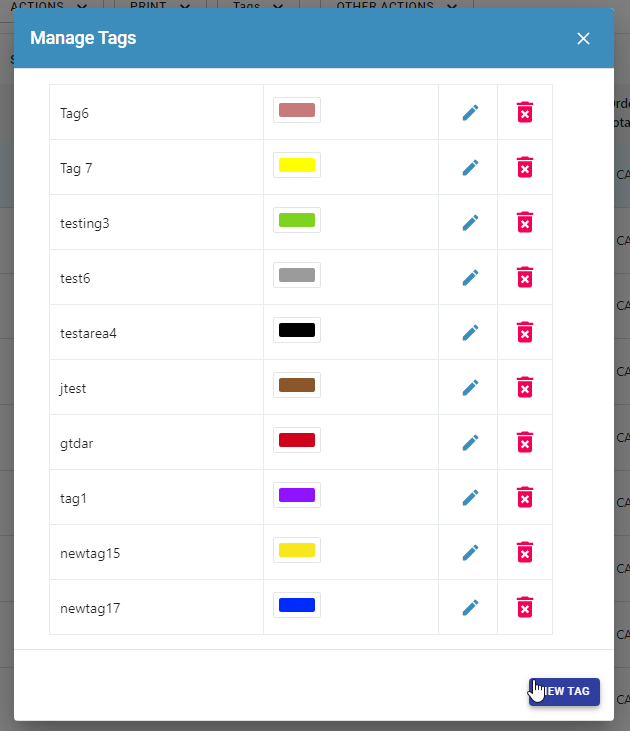
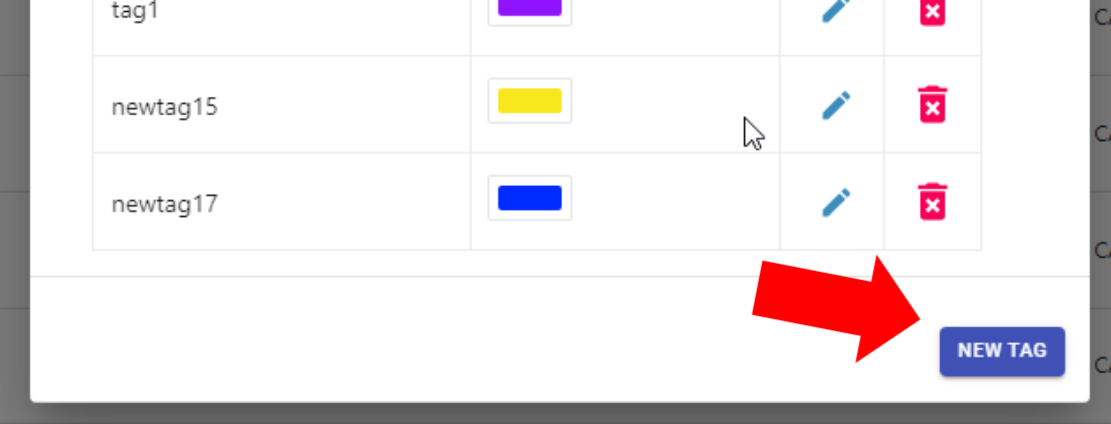
Click the 'New Tag' button at the bottom of the dialog and a entry should be added in the list of tags.
Enter the name of the tag in the text input and use the color picker beside the input to select the color of the tag.
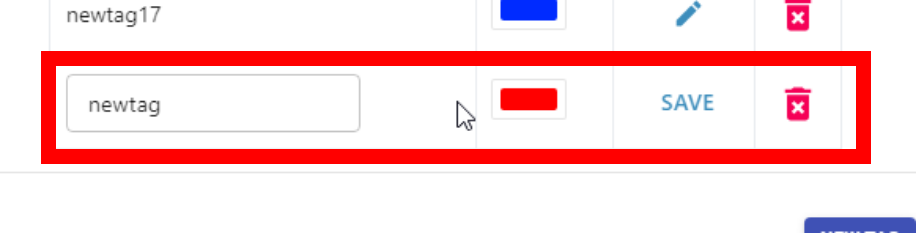
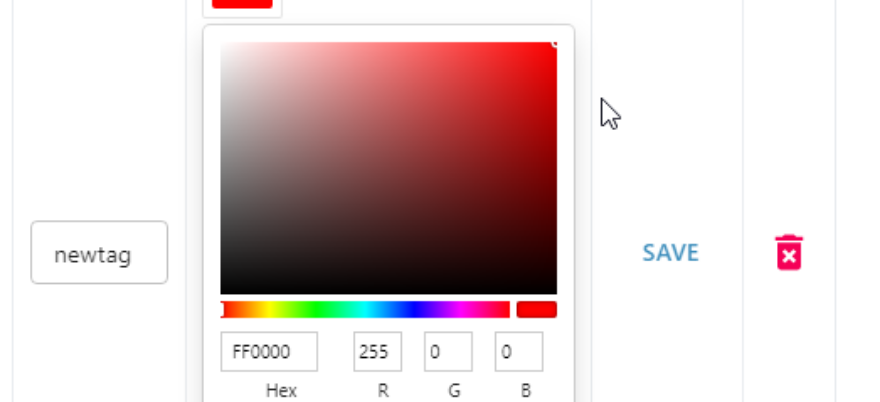
When you are done click the 'Save' button to save the tag.

To edit an existing order tag:
Select an order in the orders table.
Click the 'Tags' button to open a popover containing a list of existing order tags. If there are no existing ones, this list will be empty.
Select the 'Manage Tags' button at the top of the popover.
A dialog will open allowing you to manage (create, edit, or delete) tags. You may see a list of existing tags in this dialog.
Click the edit icon button next to the tag you wish to edit in the list of tags.

Enter the new name of the tag in the text input and use the color picker beside the input to select the new color. If you do not wish to change the property of the tag, you may leave it unchanged.
When you are done click the 'Save' button to save the tag.

To delete an existing order tag:
Select an order in the orders table.
Click the 'Tags' button to open a popover containing a list of existing order tags. If there are no existing ones, this list will be empty.
Select the 'Manage Tags' button at the top of the popover.
A dialog will open allowing you to manage (create, edit, or delete) tags. You may see a list of existing tags in this dialog.
Click the delete icon button next to the tag you wish to delete.

After clicking on the icon, the tag will be deleted.
To add or remove a tag to an order:
Select an order in the orders table that you wish to add or remove a tag on. You can select one or multiple.
Click the 'Tags' button to open a popover containing a list of existing order tags. If there are none, you will have to add an order tag.
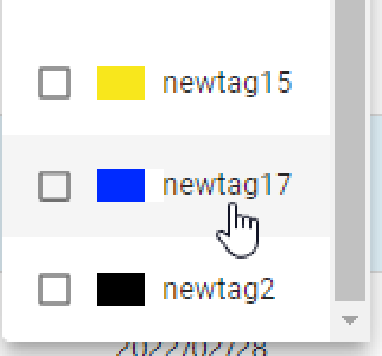
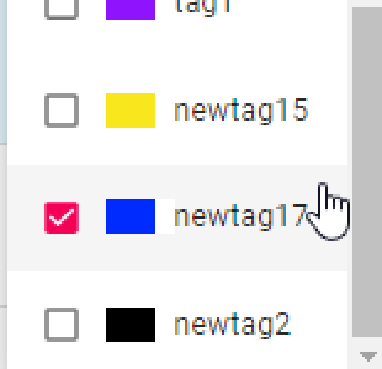
Click to choose the tag you wish to add to the selected order(s). You can click multiple tags consecutively to add them in order.
A full checkmark will appear next to the order tags that are applied to all the selected orders. Clicking on an order tag with a full checkmark will remove it from the selected orders.
A partial checkmark will appear next to the order tags that are applied to only some of the selected orders. Clicking on an order tag with a partial checkmark will add it only to the selected orders that don't already have that tag.
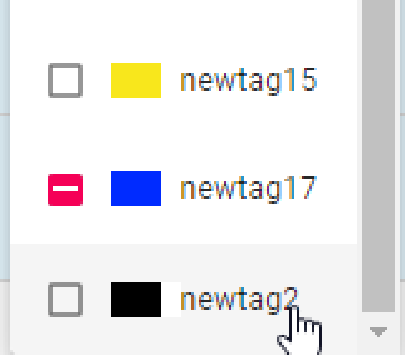
If an order tag is not applied to any of the selected orders, no checkmark will be displayed next to it. Clicking on an order tag with no checkmark will add it to the selected orders.