Article Directory
- ShipVista Help
- Integrations
- Workflows
- Guides & FAQs
Subscriptions
In this Article
About
Any settings related to your current subscription plan details as well as any other plans and changes between plans can be found on this page. You can also use this page to manage your billing information.
Content
To view the details of your current plan:
Navigate to the Subscription settings page.
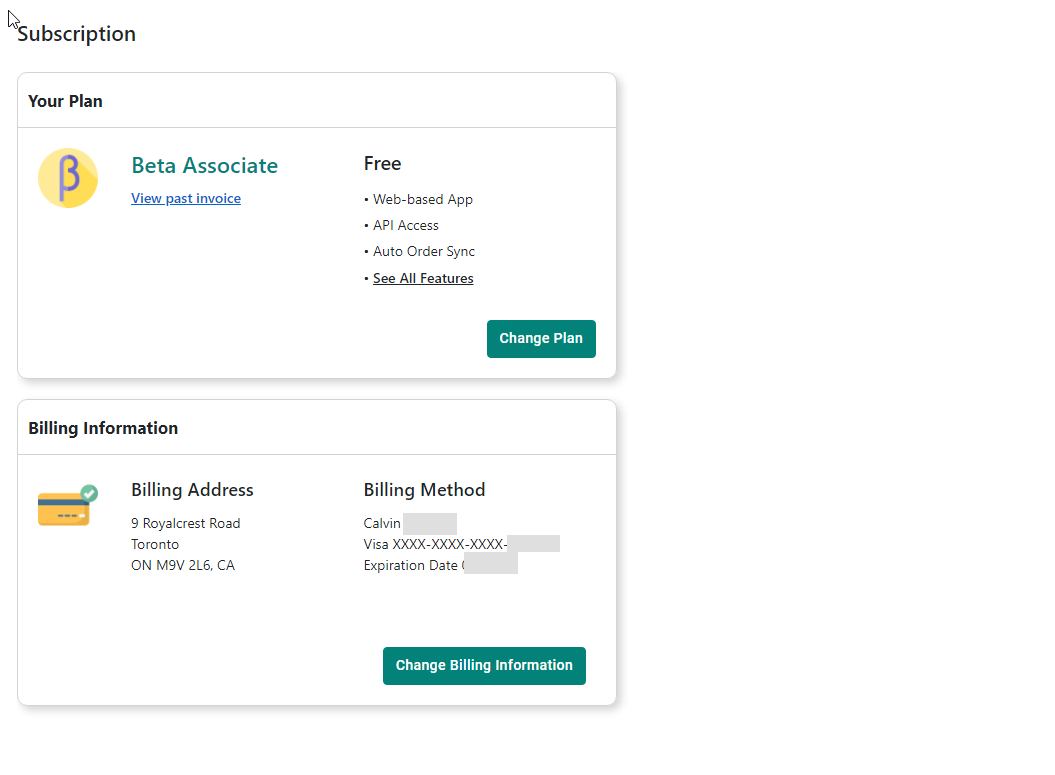
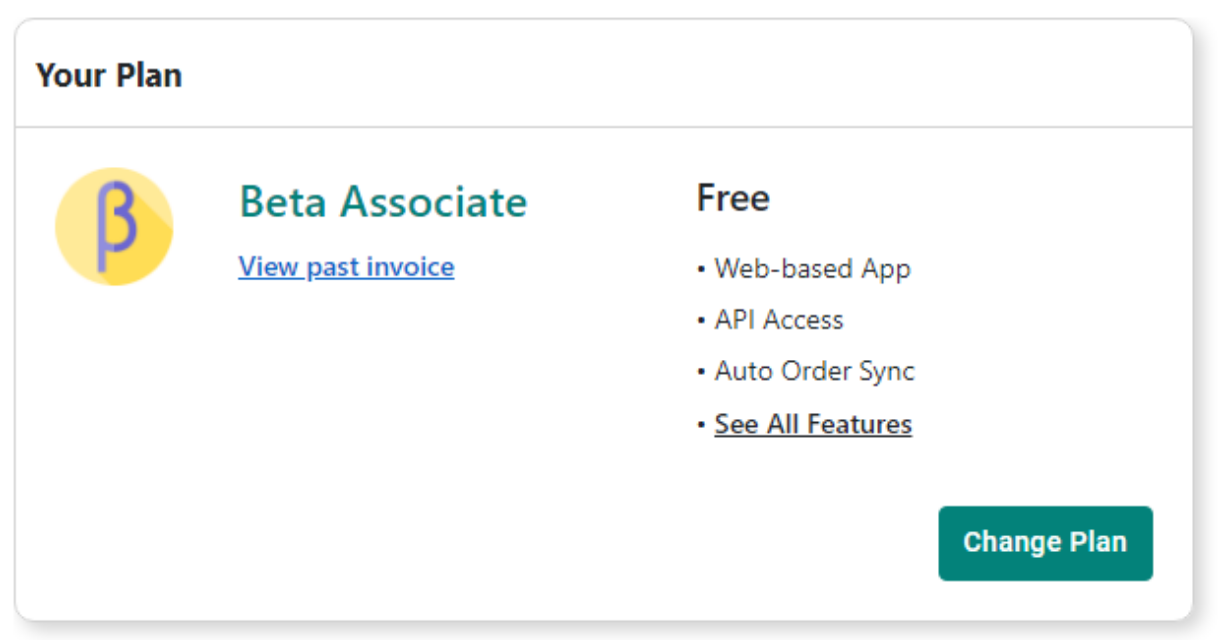
You will see two sections on the page: Your Plan and Billing Information. In the section titled Your Plan, you will see all the relevant details about your current subscription plan as well as details on your future plan if you are changing it.
ShipVista currently has four different subscription plans with their own individual features. The plans can be found on this page and every user is registered under a plan. When you sign up, you are placed on the free Starter Plan which has a few restrictions when compared to paid plans.
To see a list of the current feature and any restrictions on your current plan, click the 'See All Features' button.
If you have been billed for a plan, you can view your past invoices by clicking the 'View past invoice' button.
You can also view and compare your current plan with other plans by clicking the 'Change Plan' button.
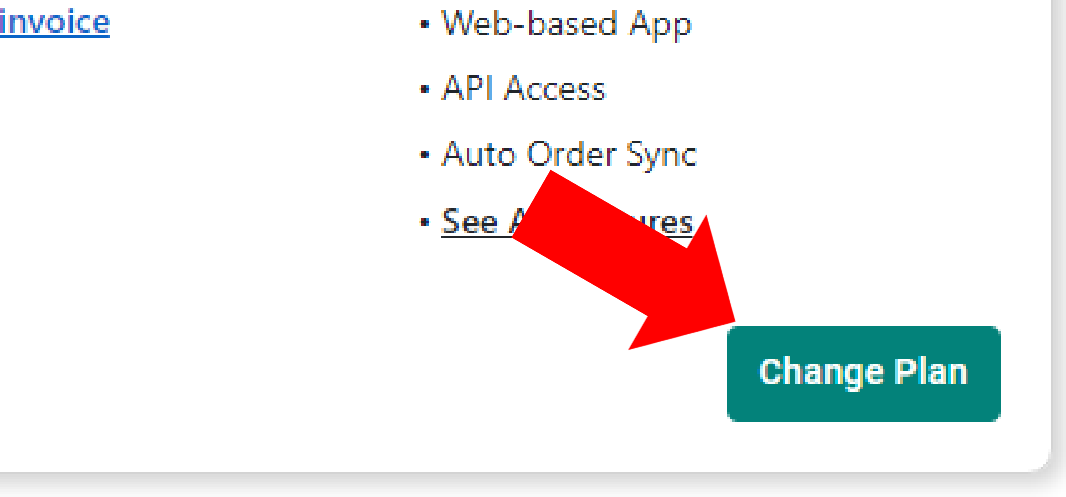
When you click 'Change Plan', a new dialog should open, listing all the available plans and their details. Within this dialog, you can find all the relevant information you need to compare and change your plan.
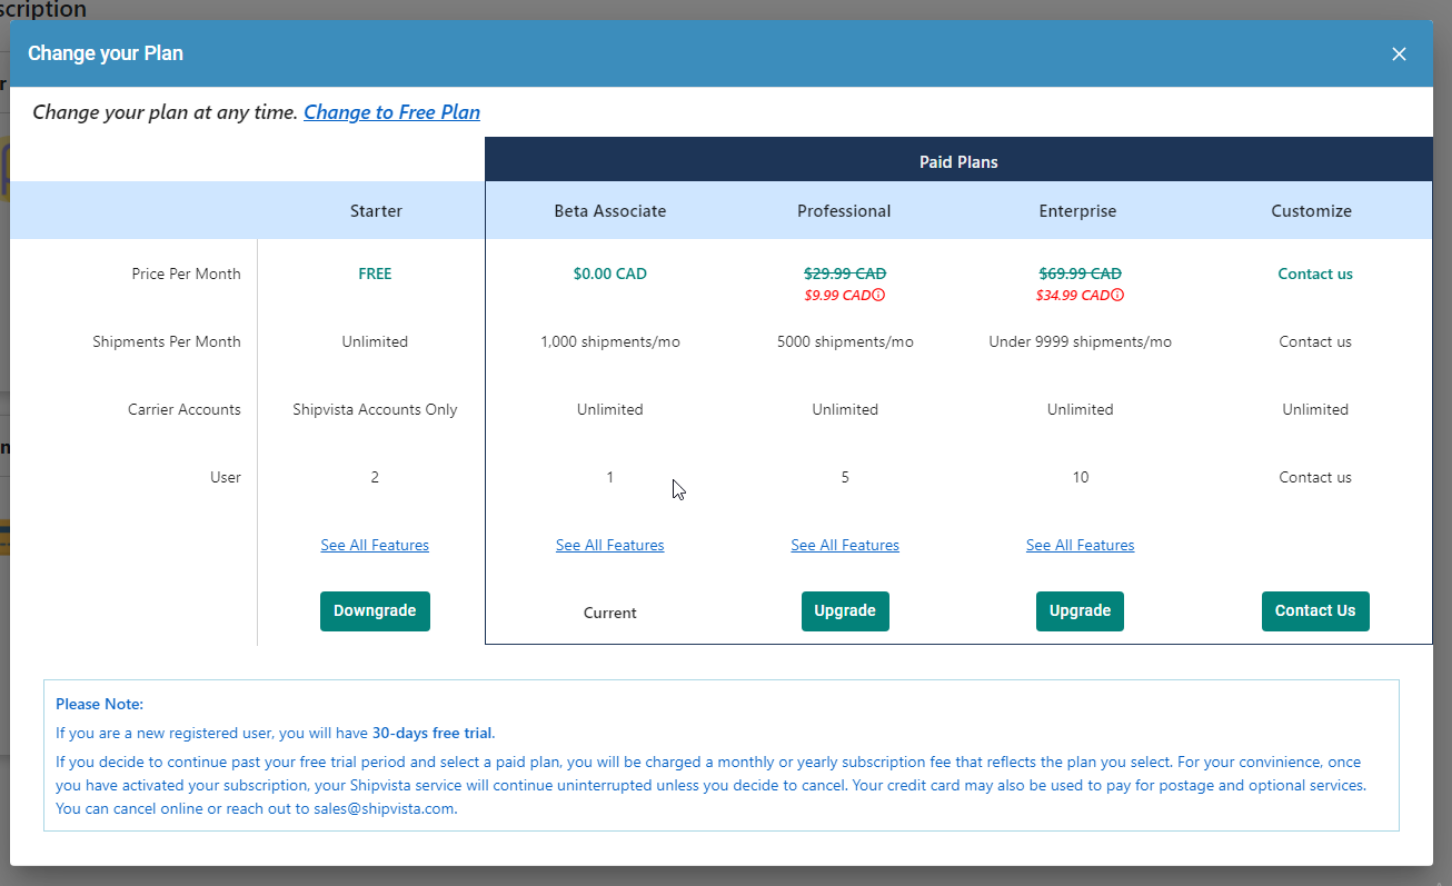
At the bottom of each plan, there will be a button to see all the features of the plan.
There will also be a button on every plan to upgrade or downgrade your plan, depending on the level of restriction that the new plan comes with.

If you are either on the Starter or Beta plan, you can immediately change your plan to the other without any charge to your account. If you are on any other plan and you want to downgrade your plan to Starter or Beta, you will be prompted to give your reason for wanting to downgrade and the plan change will not happen until the end of your billing period. If you are on any plan that is paid and you want to upgrade to another paid plan, the change will happen immediately. If the change is a downgrade, it will happen at the end of your billing period.
If you want to change to a free plan, you can use the button at the top of the dialog labeled 'Change to Free Plan'.
To change your current plan:
Navigate to the Subscription settings page.
You will see two sections on the page: Your Plan and Billing Information. In the section titled Your Plan, you will see all the relevant details about your current subscription plan as well as details on your future plan if you are changing it.
ShipVista currently has four different subscription plans with their own individual features. The plans can be found on this page and every user is registered under a plan. When you sign up, you are placed on the free Starter Plan which has a few restrictions when compared to paid plans.
Click the 'Change Plan' button.
When you click 'Change Plan', a new dialog should open, listing all the available plans and their details. Within this dialog, you can find all the relevant information you need to compare and change your plan.
At the bottom of each plan will be a button to upgrade or downgrade your plan, depending on the level of restriction that the new plan comes with.
If you are either on the Starter or Beta plan, you can immediately change your plan to the other without any charge to your account. If you are on any other plan and you want to downgrade your plan to Starter or Beta, you will be prompted to give your reason for wanting to downgrade, and the plan change will not happen until the end of your billing cycle. If you are on any plan that is paid and you want to upgrade to another paid plan, the change will happen immediately. If the change is a downgrade, it will happen at the end of your billing period.
If you want to change to a free plan, you can use the button at the top of the dialog labeled 'Change to Free Plan'.
Click the 'Upgrade' or 'Downgrade' button for the plan that you wish to change to.
If you are changing to a paid plan, another dialog should open with information on the plan change.
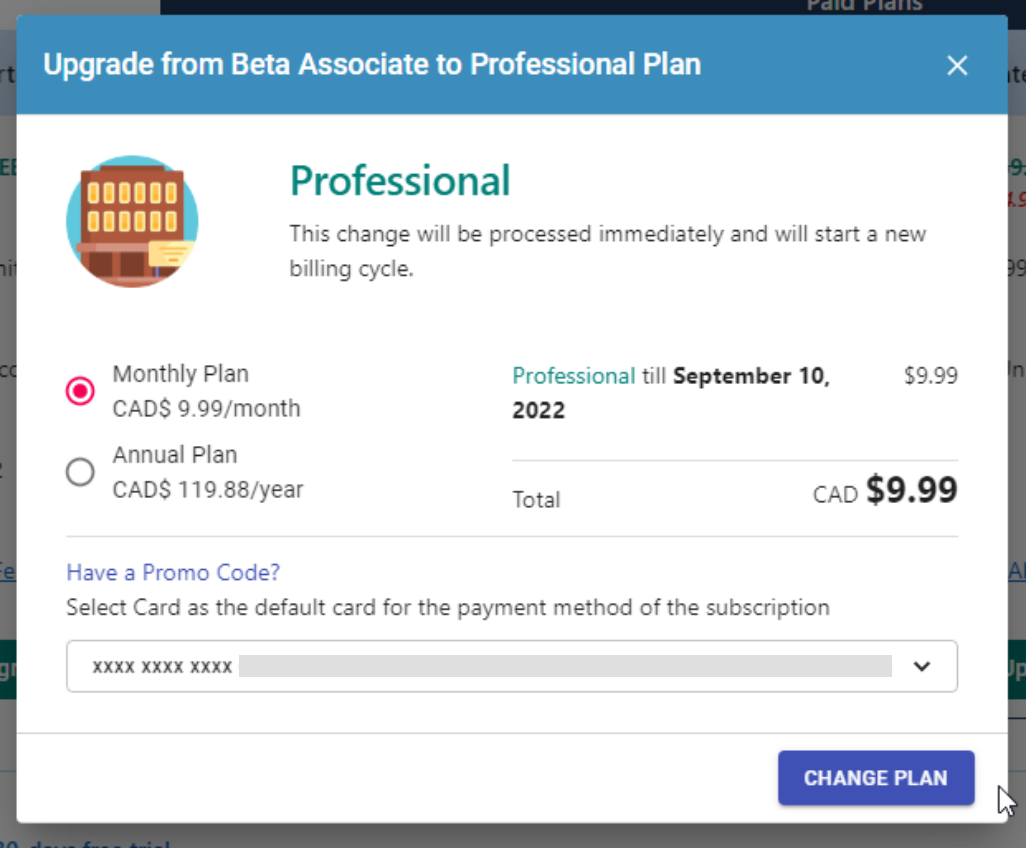
There will be a message near the top of the dialog indicating whether the change will be processed immediately or at a later time depending on if you are on a current paid plan.
You will have the option to select if you are choosing the yearly or monthly version of the plan that you want and the price.
Note: Regardless of whether your plan is monthly or yearly, you will be billed monthly. If your plan is yearly, then you will be charged the yearly amount divided by twelve each month.
The date that the plan will end will be shown for you as well as the total.
If you have a promo code to apply when changing plans, you can click the 'Have a Promo Code?' button near the bottom.
After clicking the button, an input will appear allowing you to enter the promo code. Enter the code that you were given exactly as it is case-sensitive.
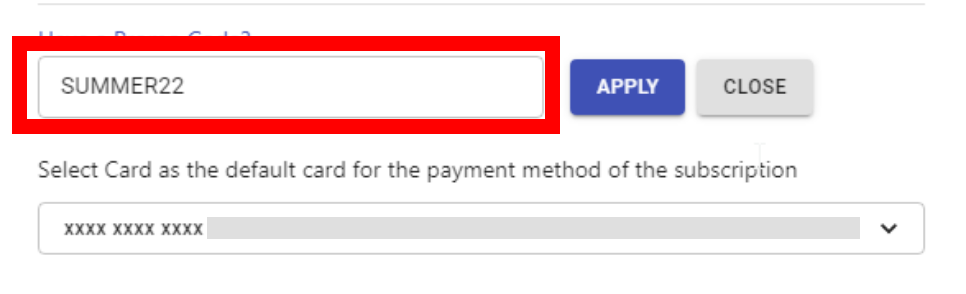
After you finish entering the promo code, click the 'Apply' button to apply the code.
If the promo code is valid, the code will be applied and the price will be updated.
Next, you have to select the credit card to use for the billing of the plan by clicking on the dropdown at the bottom.
If you have not added a card yet to your account, you can click the option to add a new card and follow the steps to add a card on the Add Card help page.
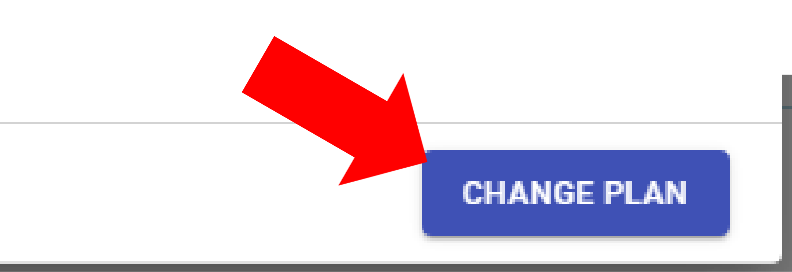
When you are satisfied with the detail of your plan change, click the 'Change Plan' button.
To view your current subscription billing information:
Navigate to the Subscription settings page.
You will see two sections on the page: Your Plan and Billing Information. In the section titled Billing Information, you will see the details of your current billing information.
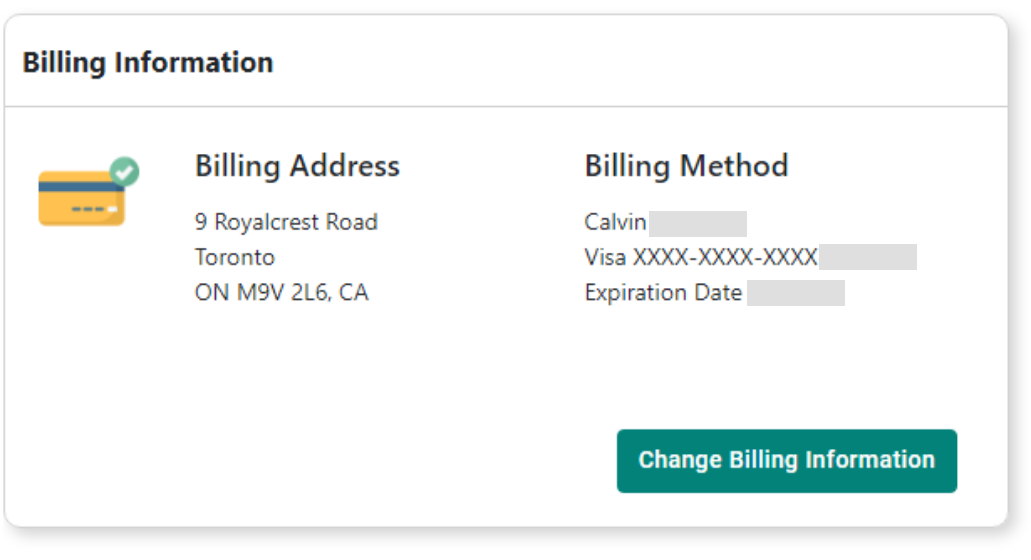
The card displayed on the billing information is charged every billing period if your current subscription plan is a paid plan.
On the left side of the Billing Information is the Billing Address. This address is the same address that is registered on the card.
To the right side of the Billing Information is the Billing Method. This contains the details of the card that is charged.
To change your current subscription billing information:
Navigate to the Subscription settings page.
You will see two sections on the page: Your Plan and Billing Information. In the section titled Billing Information, you will see the details of your current billing information.
The card displayed on the billing information is charged every billing period if your current subscription plan is a paid plan.
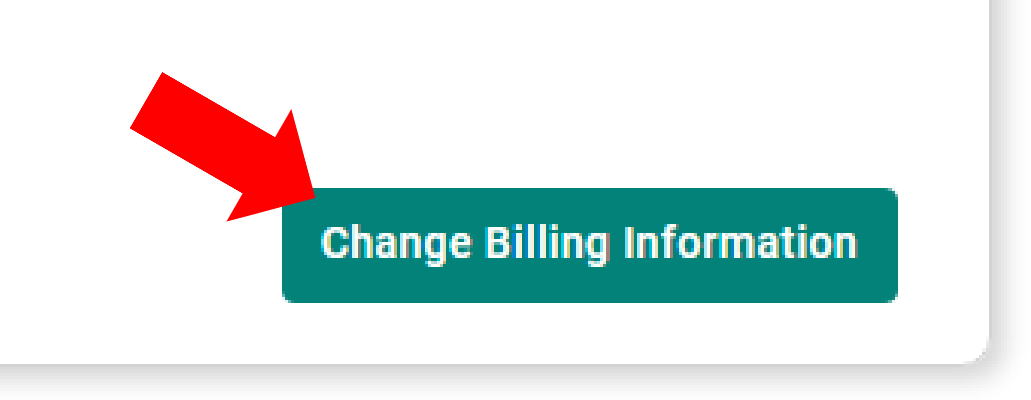
On the bottom portion of the billing information, click the 'Change Billing Information' button.
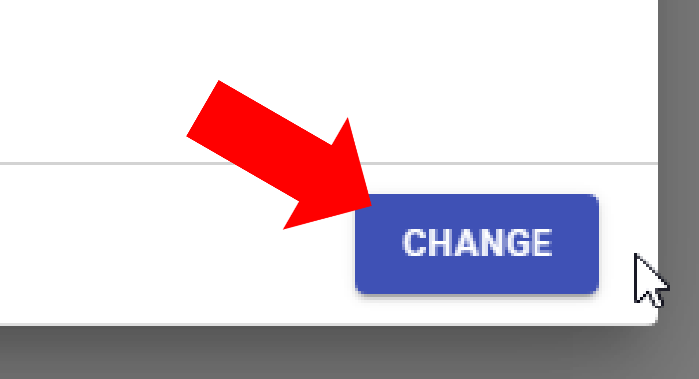
A dialog will appear, telling you to select a card as the payment method for the subscription.
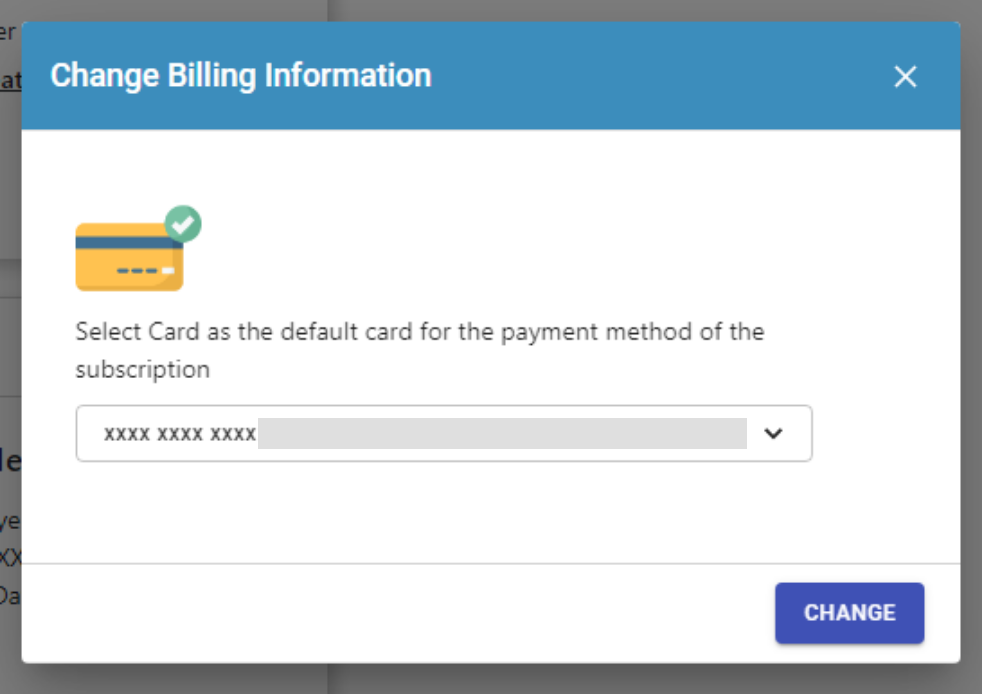
If you haven't added a card yet to your account, you can click the option to add a new card and follow the steps to add a card on the Add Card help page.
Once you have selected a card, click the 'Change' button to change the billing method. The billing address will be updated to the address of the card.