Article Directory
- ShipVista Help
- Manage Orders
- Ship Orders
- Manage Shipments
- Integrations
- Workflows
- Guides & FAQs
Shipping Presets
In this Article
About
Shipping presets are a way to save and easily restore shipping configurations so they can be applied when needed.
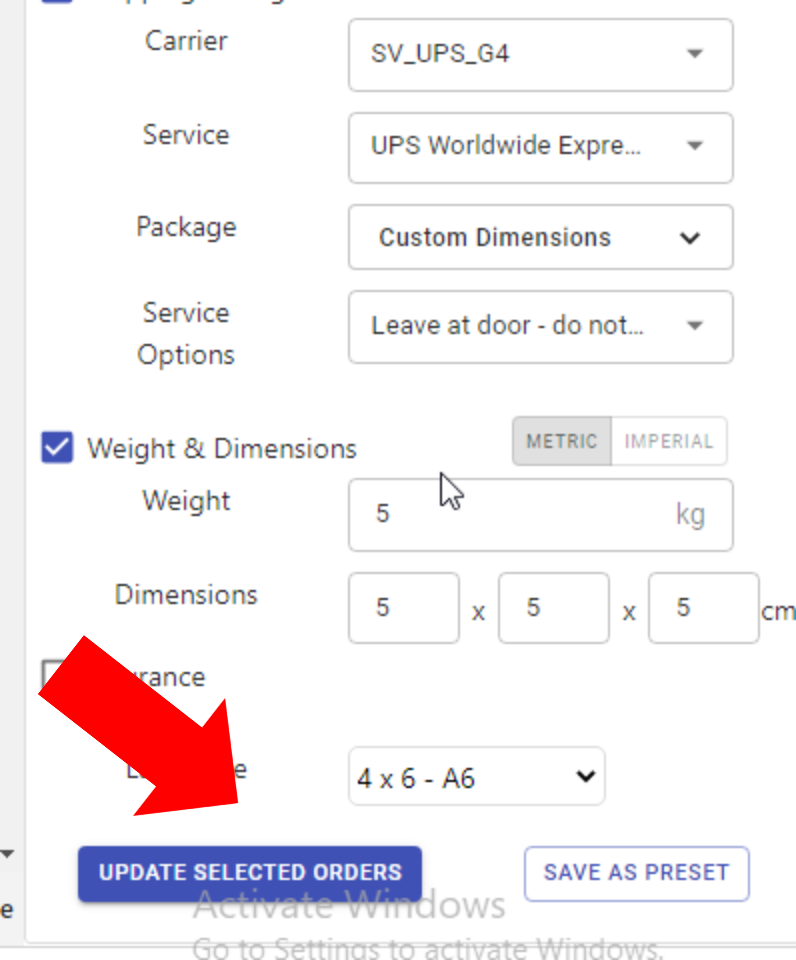
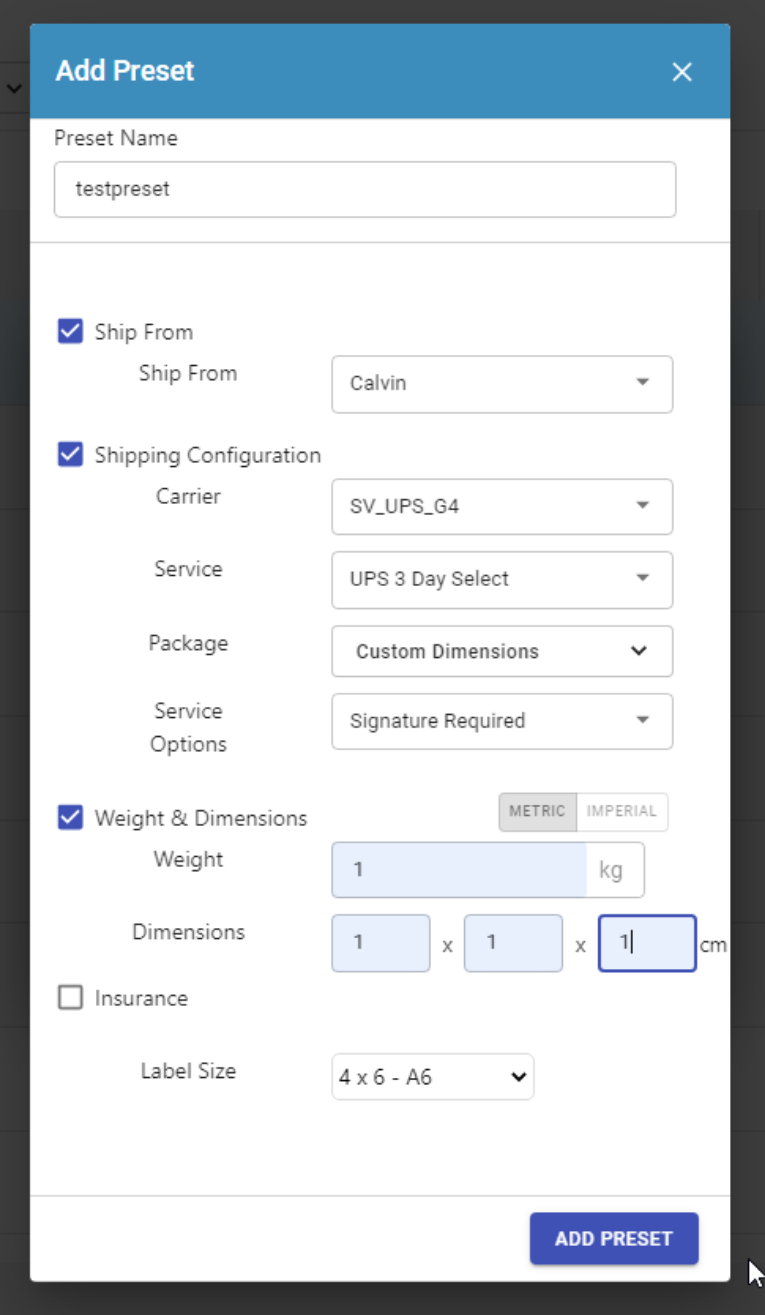
You can save a preset with the below settings:
- Ship From Address
- Shipping Carrier
- Shipping Service
- Package
- Service Options
- Weight
- Dimensions
- Insurance
- Label Size
Content
To create a preset:
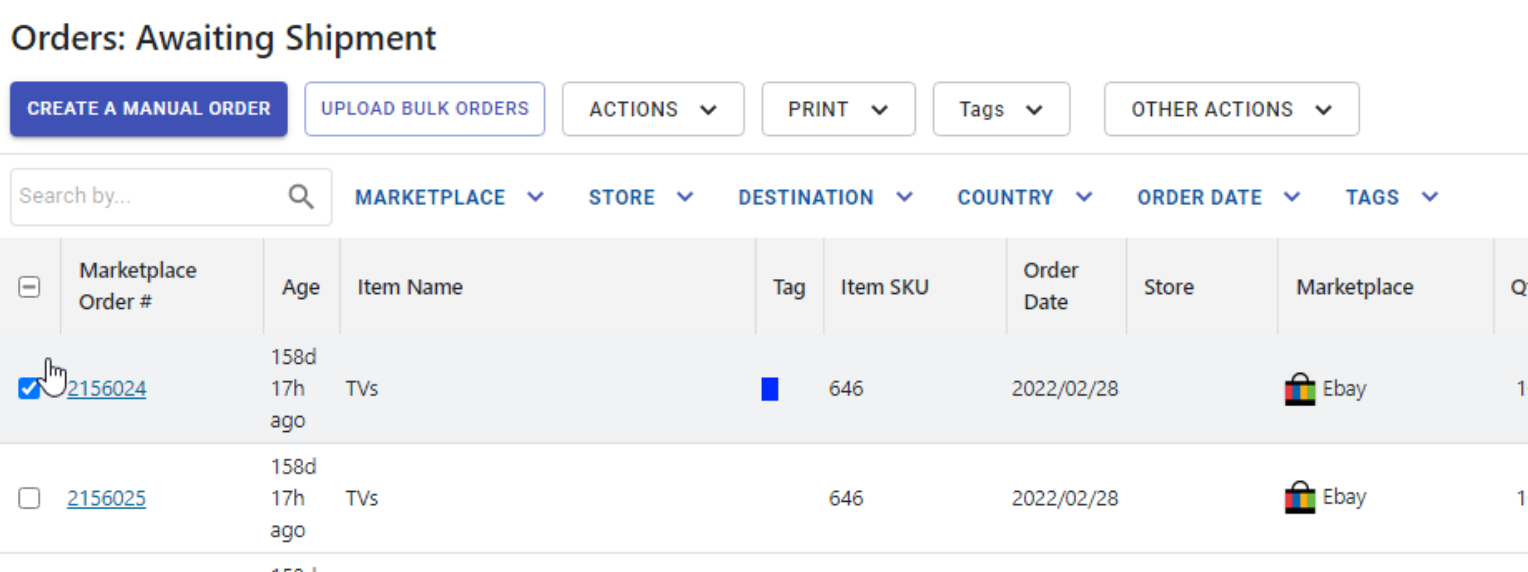
Select any order in the orders table. The sidebar of the table should appear.
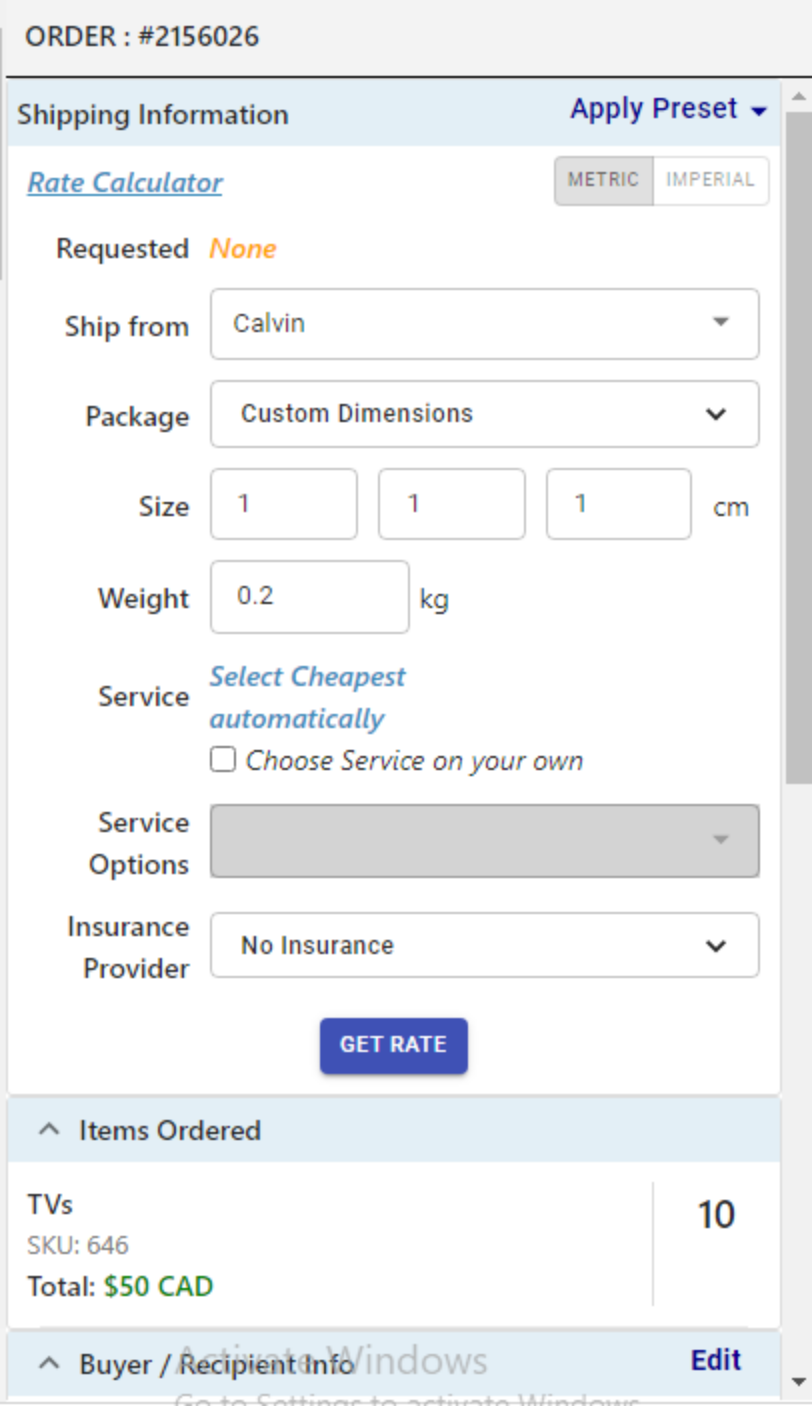
Click 'Apply Preset' next to the title text Shipping Information. A list of existing presets should appear if there are existing presets.

Click the 'Manage Presets' button. A dialog allowing you to manage presets will appear.
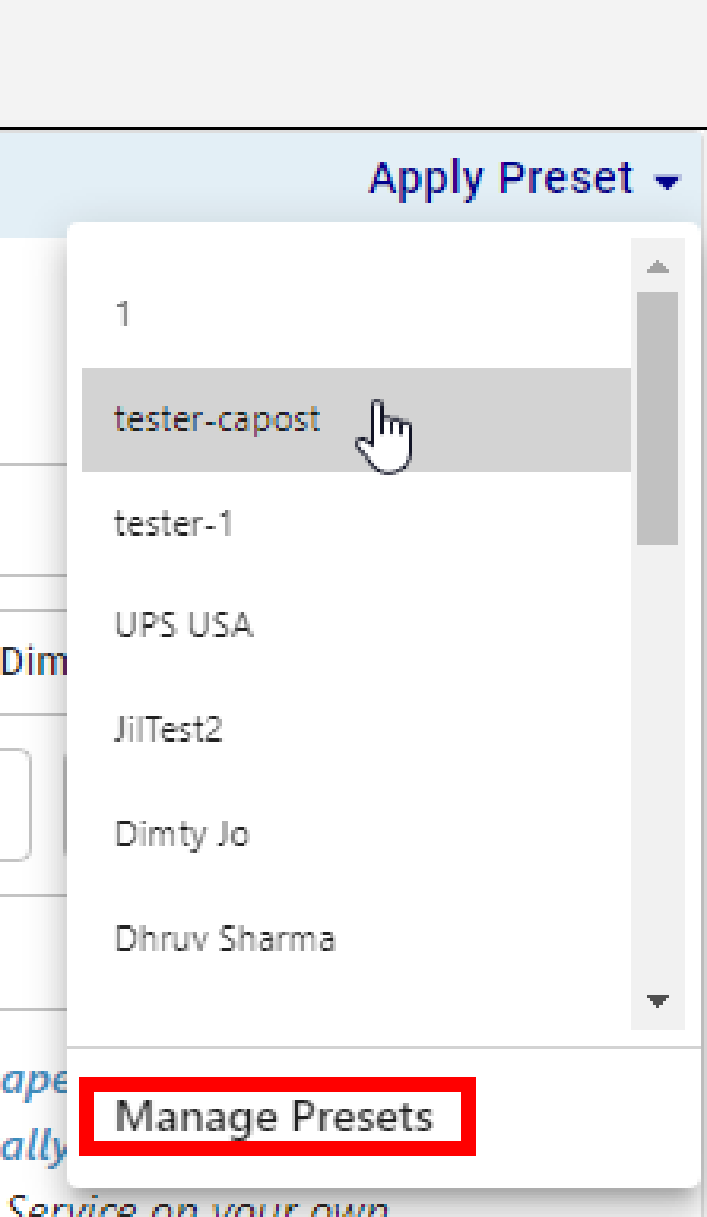
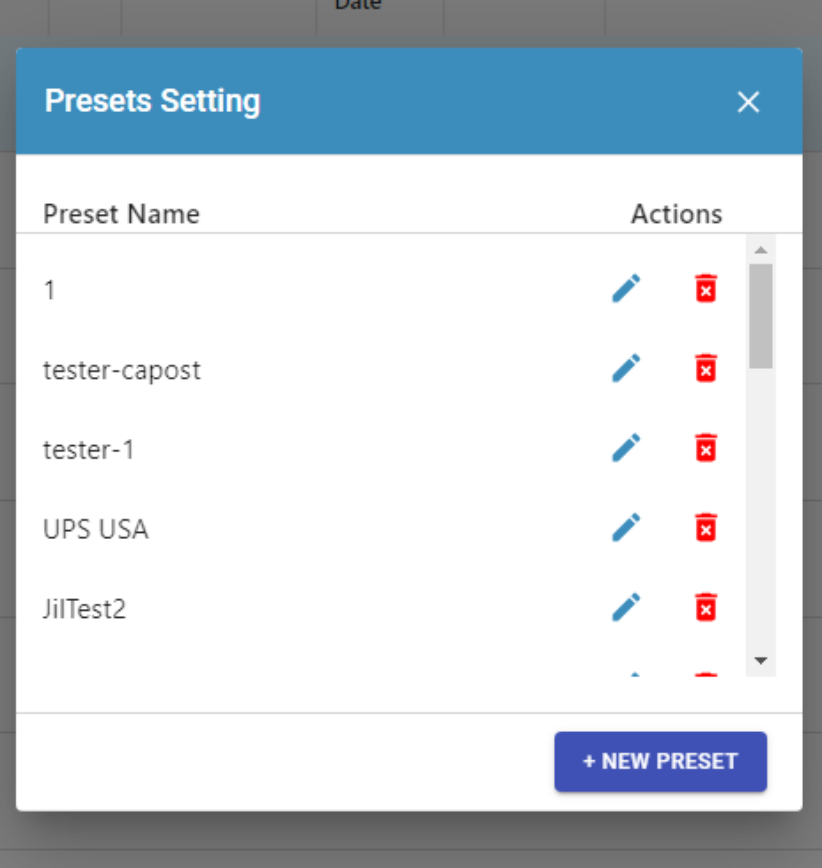
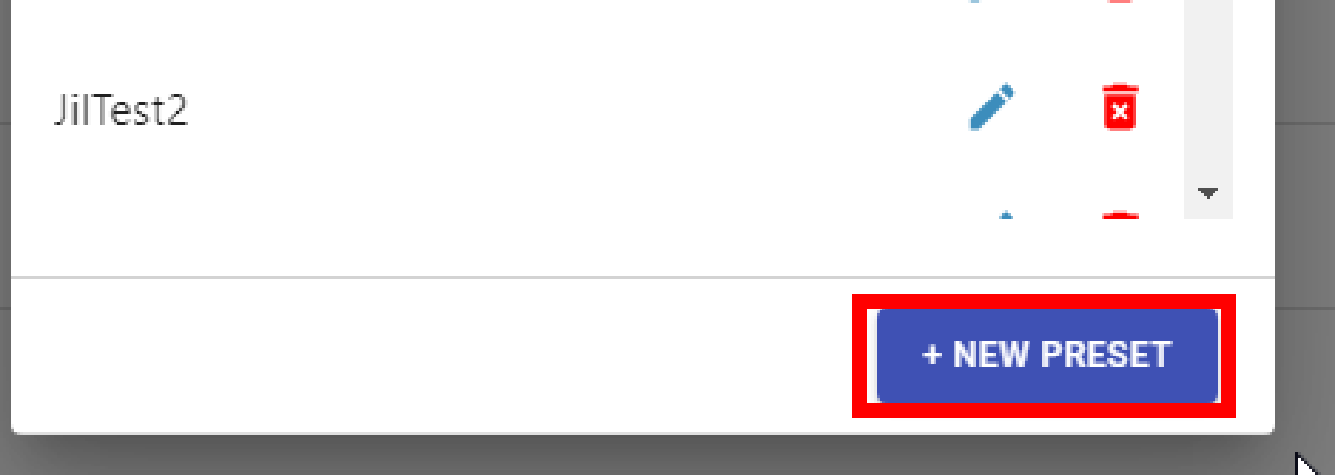
Click 'New Preset'.
Give the preset a name and fill and add the configurations for the preset by filling in the details.
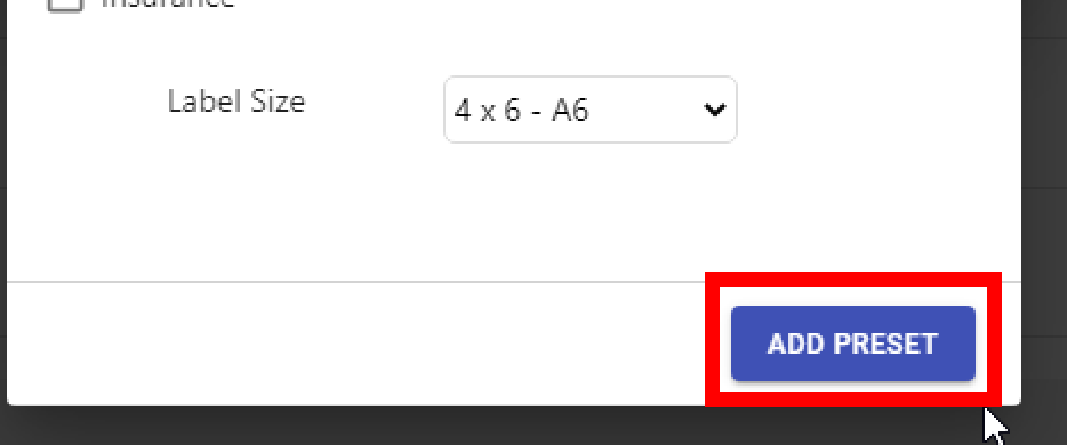
Click the 'Add Preset' button when finished.
Once a preset is created, it can be manually applied to a single order or multiple orders.
Apply to a Single Order
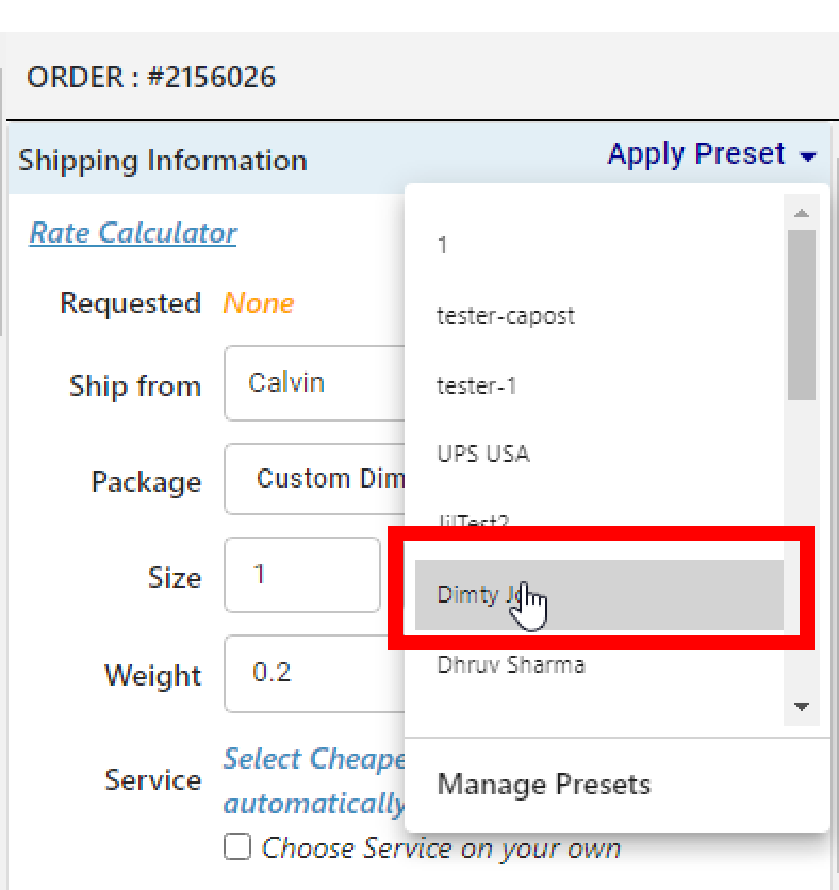
Select the order you want to apply the preset to by clicking on it in the orders table. The sidebar should open, showing the Shipping Information widget.


Click the 'Apply Preset' button next to the Shipping Information title text to open a popover.

Select the preset that you want to apply from the list of presets.
Apply to Multiple Orders
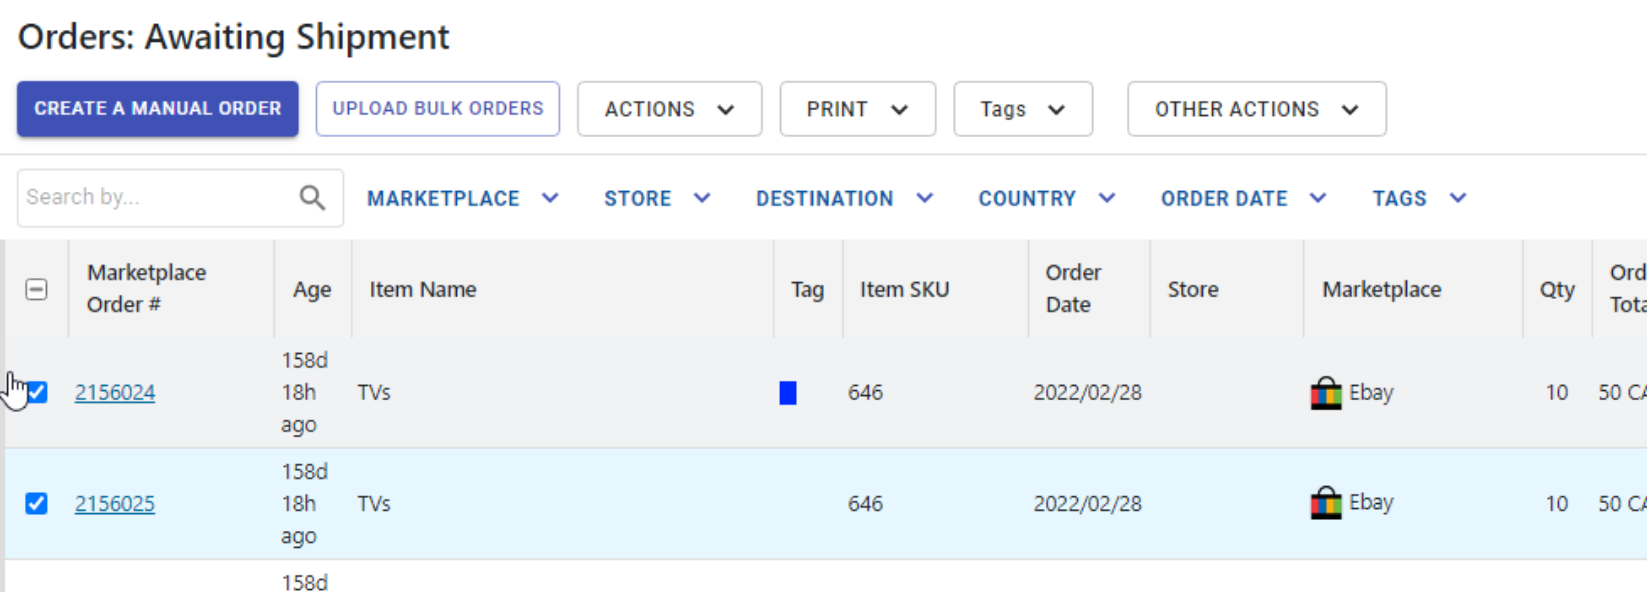
Select the orders you want to apply the preset to by clicking on them in the orders table. The sidebar should open, showing the number of orders selected.
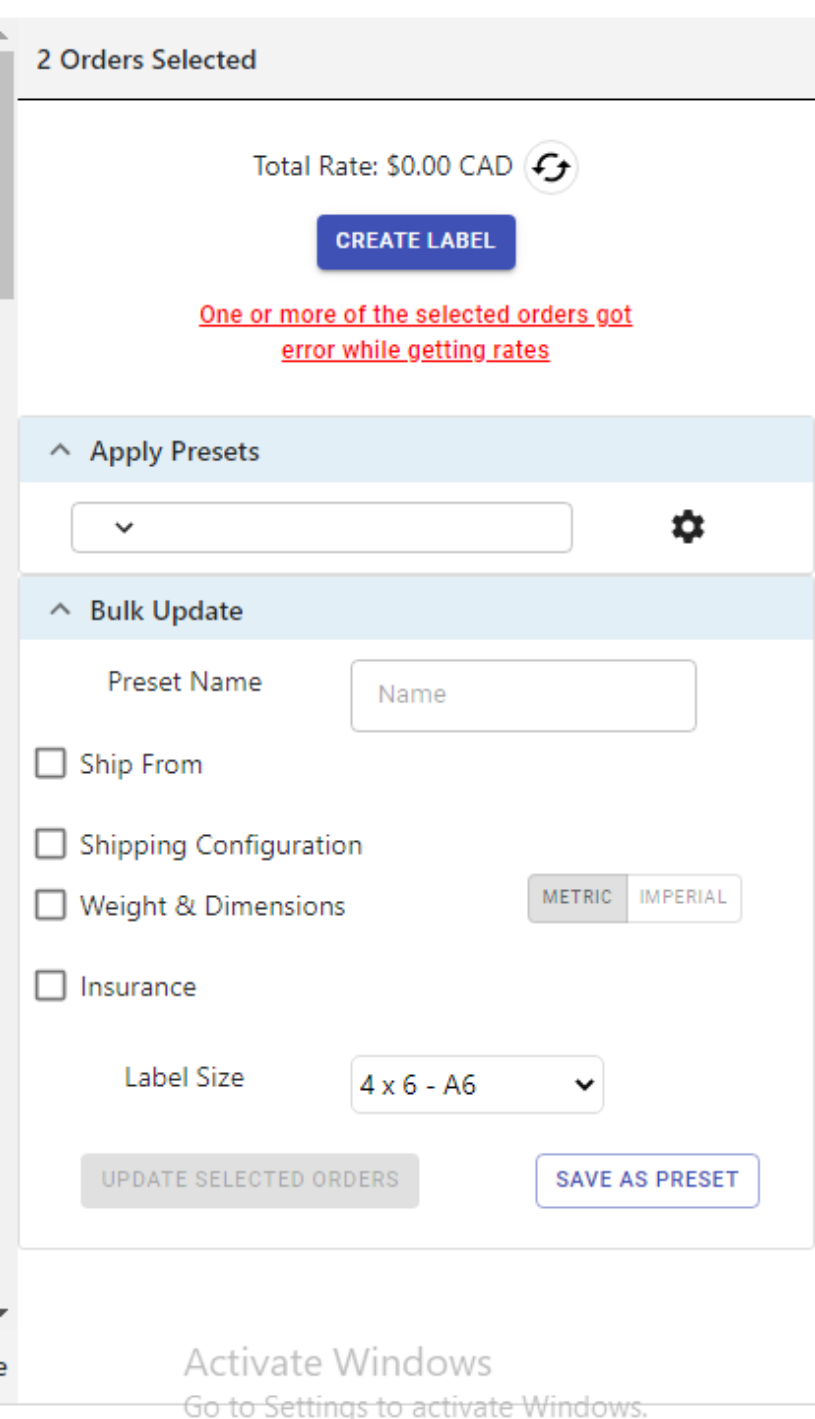
Under the apply preset section on the sidebar, click the dropdown to open a list of existing presets.
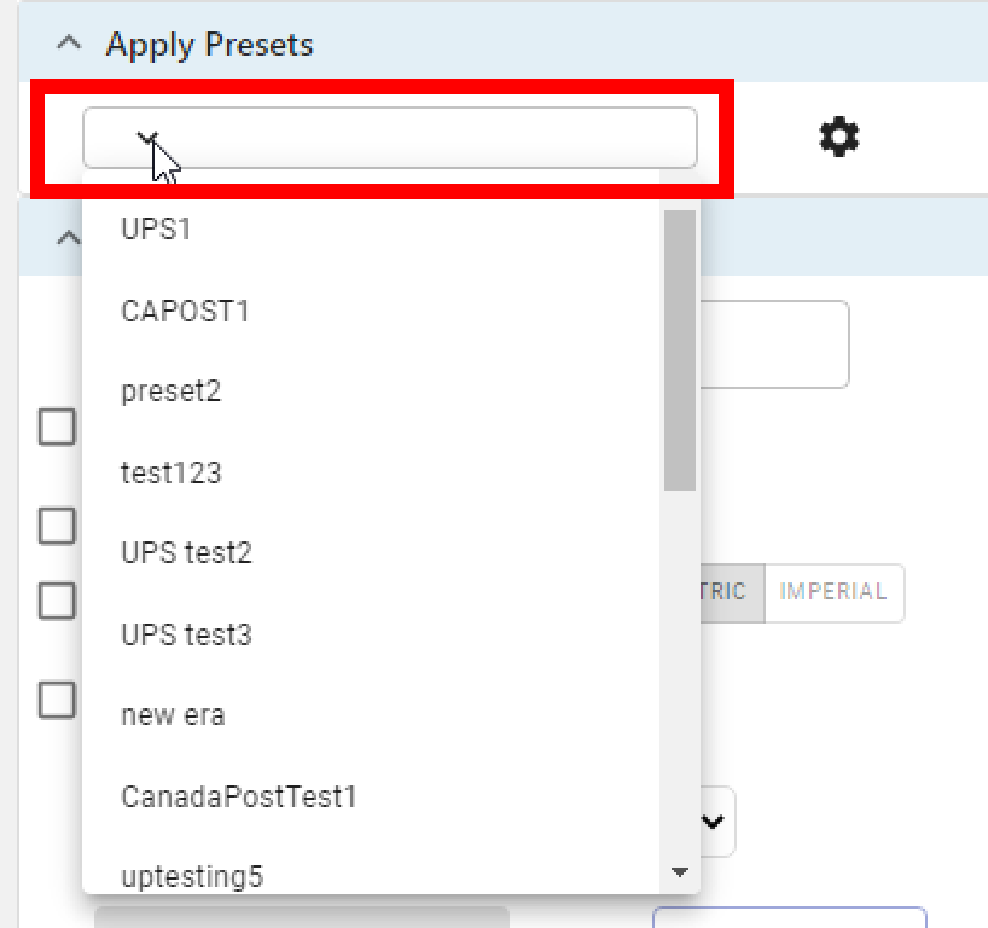
Select the preset that you want to apply. The Bulk Update section should prefill fields with configurations from the chosen preset. You can still choose to modify some of the shipping details.
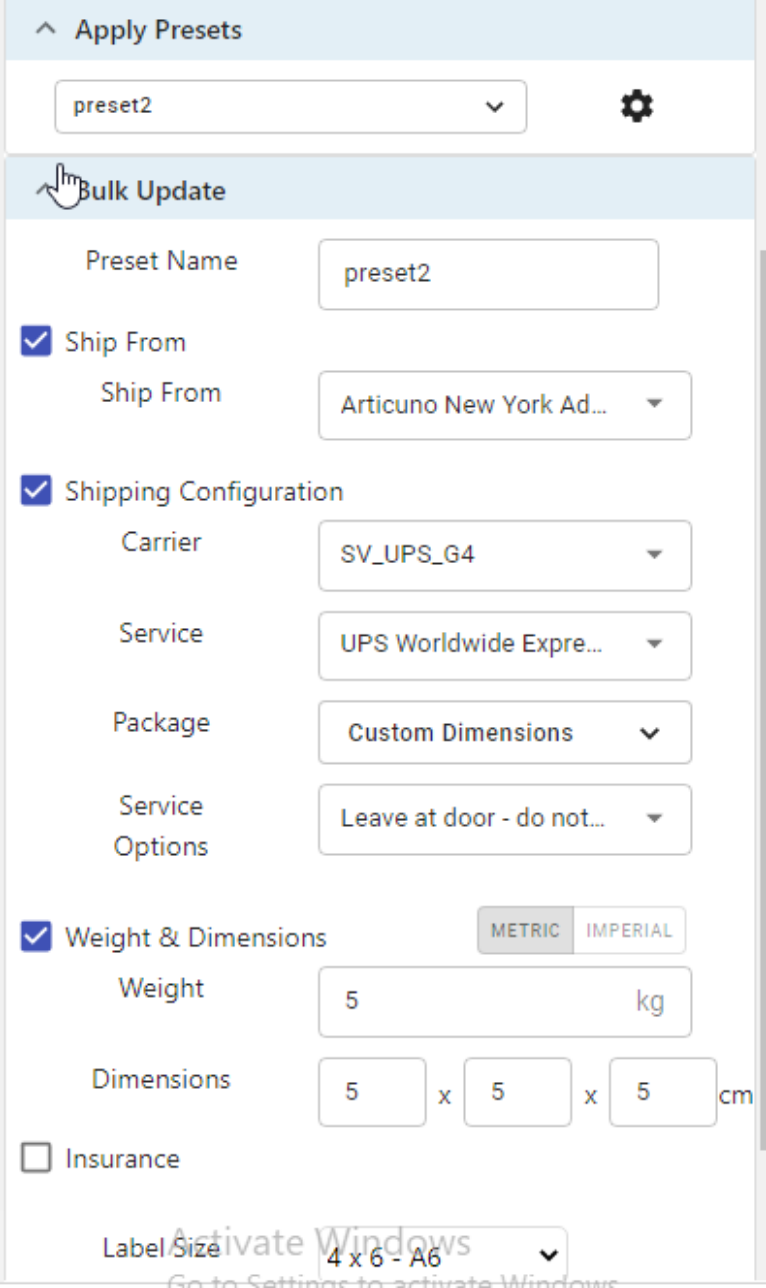
When you are finished, click the 'Update Selected Orders' button at the bottom to update the orders with the preset.
