Article Directory
- ShipVista Help
- Manage Orders
- Ship Orders
- Manage Shipments
- Integrations
- Workflows
- Guides & FAQs
Batch Shipment
In this Article
About
Within ShipVista, you can group multiple orders and batch create labels for them in the background while you perform other tasks. This feature is helpful when you need to organize label creation for multiple orders and ship them all at once.
When you create a batch, every label created will count as a shipment except for multi-package shipments which will count as a single shipment.
Content
To batch create labels:
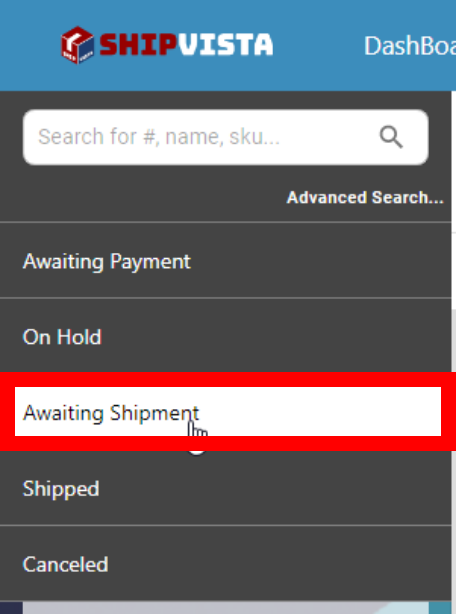
Navigate to either the Awaiting Shipment or On Hold Orders page. You will see the orders table on the page.

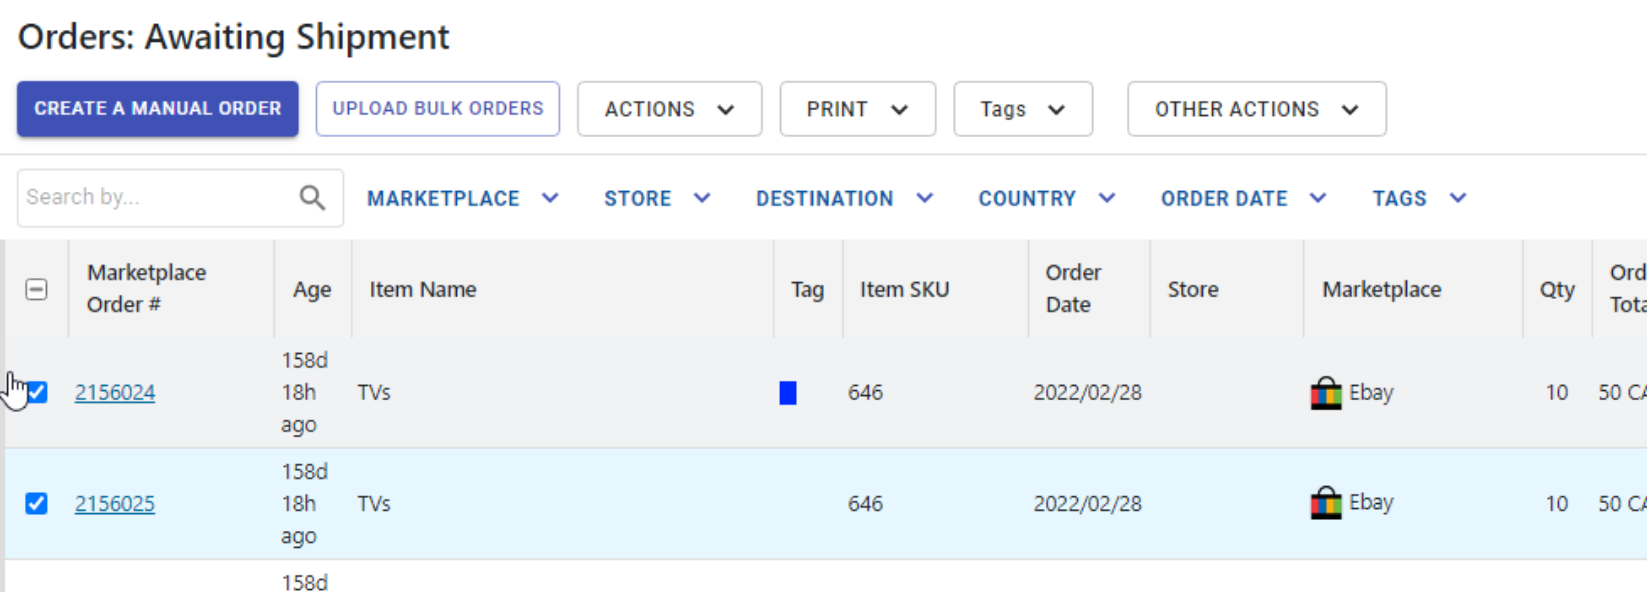
Select at least two orders in the orders table. The orders sidebar should open, showing the number of orders selected.
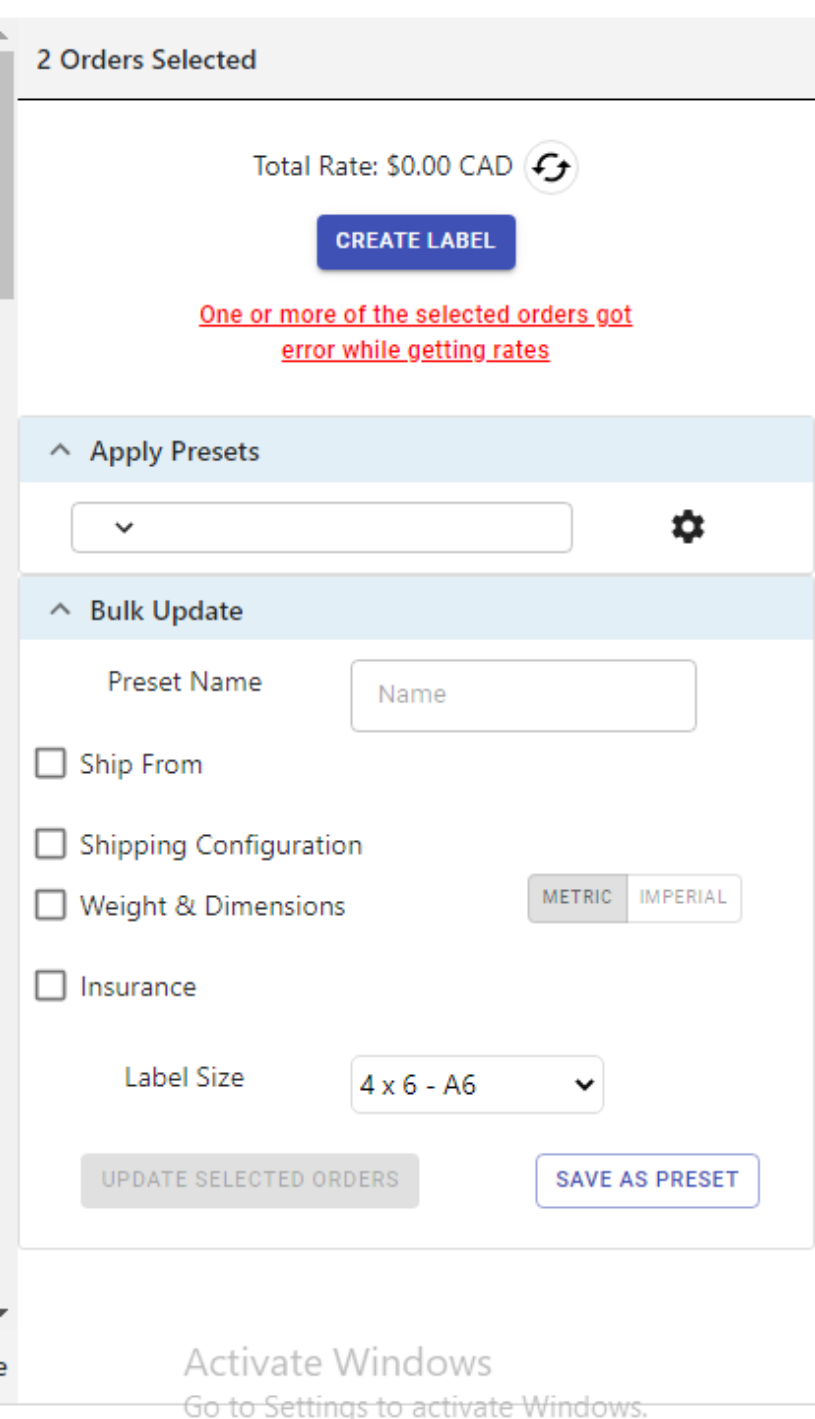
On the orders sidebar, you will see various form widgets used to update the shipping details for the selected orders. There will be a widget for applying a preset to the selected orders. There will also be a bulk update widget to configure the shipping details.
At the top of the sidebar, you can batch create labels for the selected orders by clicking the 'Create Label' button. The saved shipping configuration such as the shipping carrier, ship from address, and service for the orders will be used when creating the labels. These saved details could be different for each of the selected orders.
If there are errors while getting rates for any selected order, an error message will be displayed under the Create Label button. If there are no errors and you want to go straight to creating the label with the saved shipping configurations, click the Create Label button and skip to step # 12.

If there are any errors while getting rates, click the error message below the Create Label button. A dialog will open showing you the errors that are present and the order that generated the error.
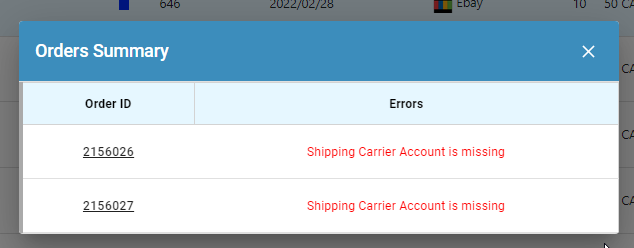
Usually, the error generated will be caused by missing or incorrect data in the orders that were selected. You can click the Order Id for the order to open the Order Details dialog and update the order with any missing information. To learn about the Order Details, visit the Edit Order Details help page.

The error might also be caused by missing details in the shipping configuration for the orders. You can visit the Configure Shipping help page to learn about configuring shipping. If the error is caused by missing information in the shipping configuration such as a missing Ship From address, and no rates available for the carrier service, you will have to update the shipping configuration using the bulk update widget at the bottom of the orders sidebar.
Once you have fixed all the errors involving missing or incorrect details in the orders, you can close the error dialog and follow the below steps to update the shipping configuration.
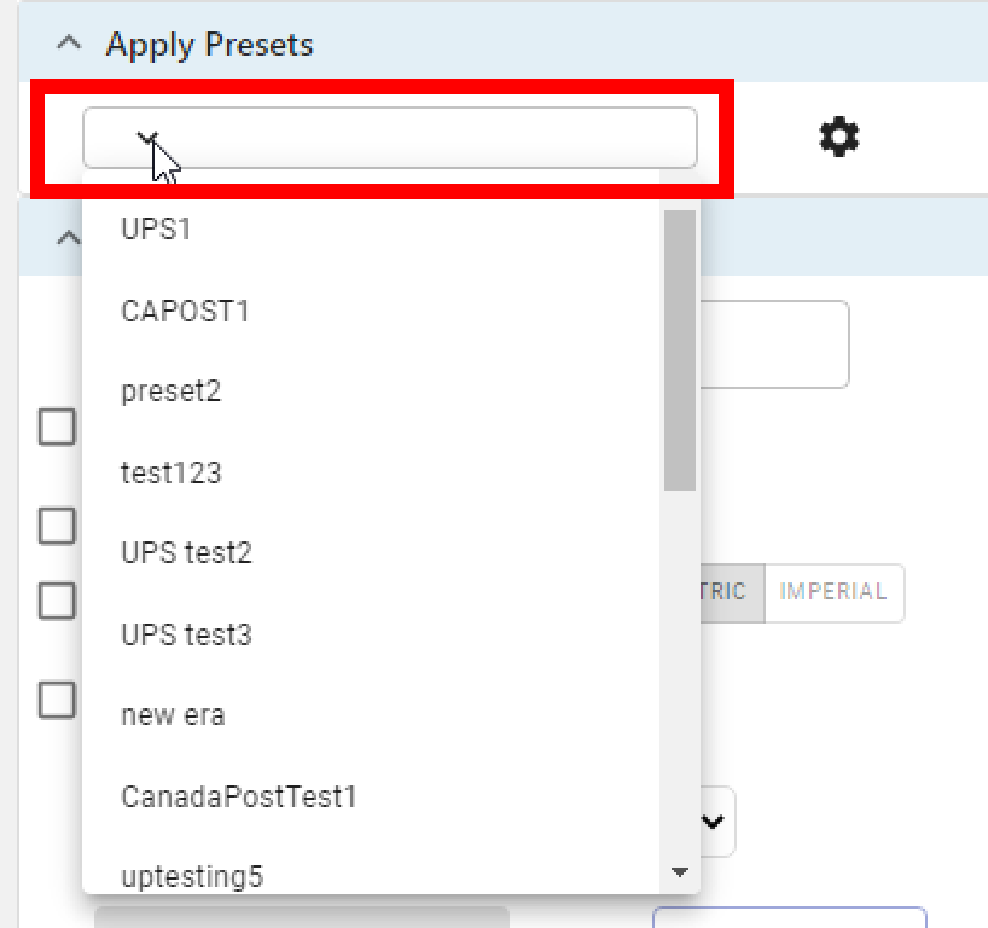
(optional) You can use the apply preset dropdown to select a preset, the form in the bulk update widget will update with the saved configuration details from the preset. To learn more about presets, visit the Shipping Presets help page.
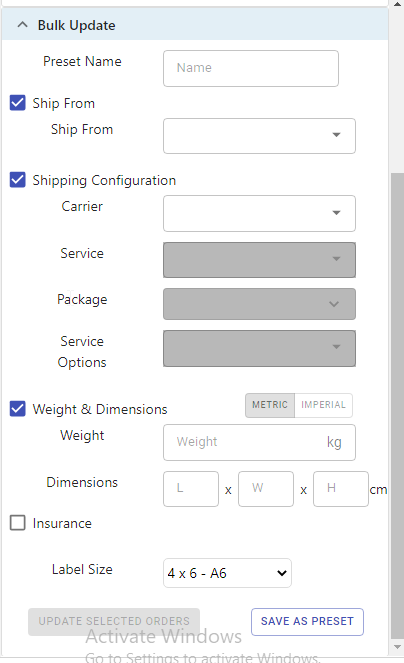
In the bulk update widget, use the form inputs to make changes to the saved shipping configuration of the orders. This will include the Ship From address, the carrier, services, and dimensions.
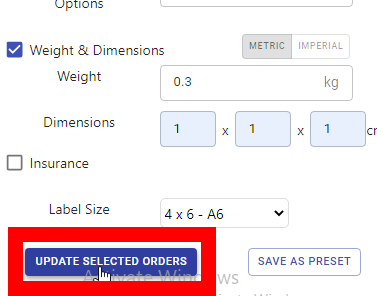
When you are finished setting the configurations, click the 'Update Selected Orders' button to update the orders.
If the orders are successfully updated, ShipVista will get the rates for the selected orders and revalidate the orders to see if the labels could be created. If there are any errors in getting the rates, an error message will be present under the Create Label button.
If there are no errors present while getting rates for the orders, there will be no error messages. You can click the Create Label button to start the batch label creation.
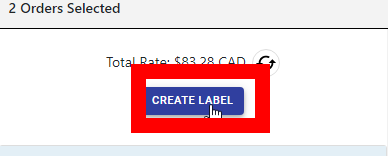
A dialog will appear showing you the total cost to create the batch and the service that will be used.
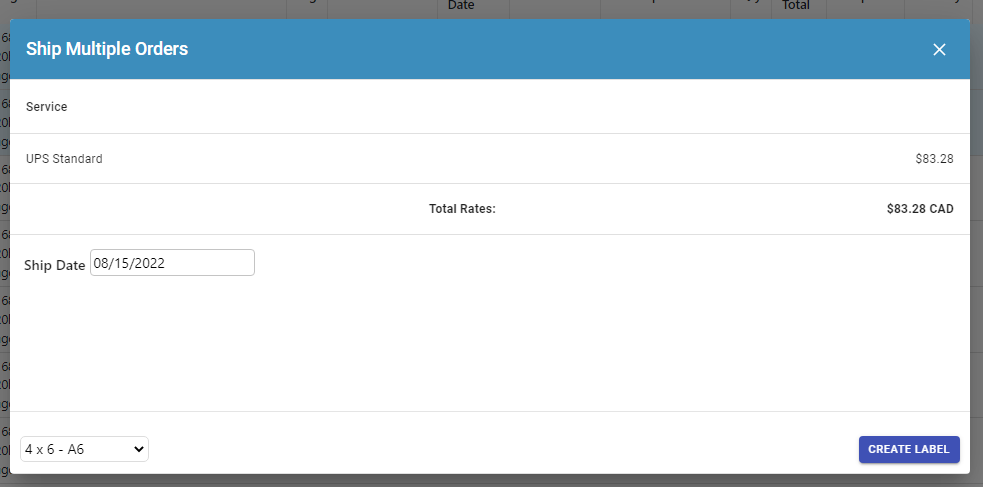
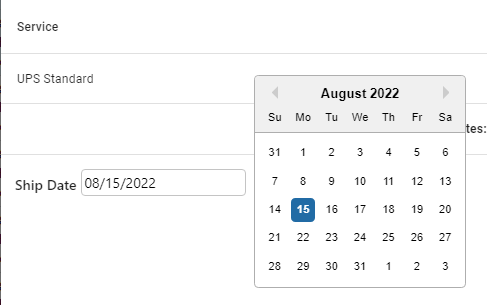
You can use the date input to select the ship date for the shipments within the batch.
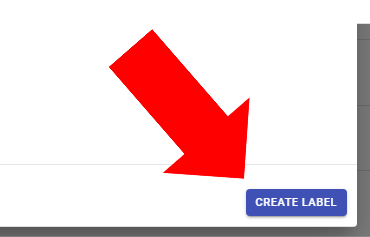
If you are satisfied with the batch details, you can click 'Create Label' to start the batch label creation.
A dialog should open showing you the status of the shipments within the batch and the number of shipments that were successful and the number that failed.

If the process is taking too long, you can close the dialog and continue doing other tasks within the application. You can visit the Shipment History page to view the status of the shipments within the batch. Visit the Track Shipment help page to learn about Shipment History and tracking shipments.